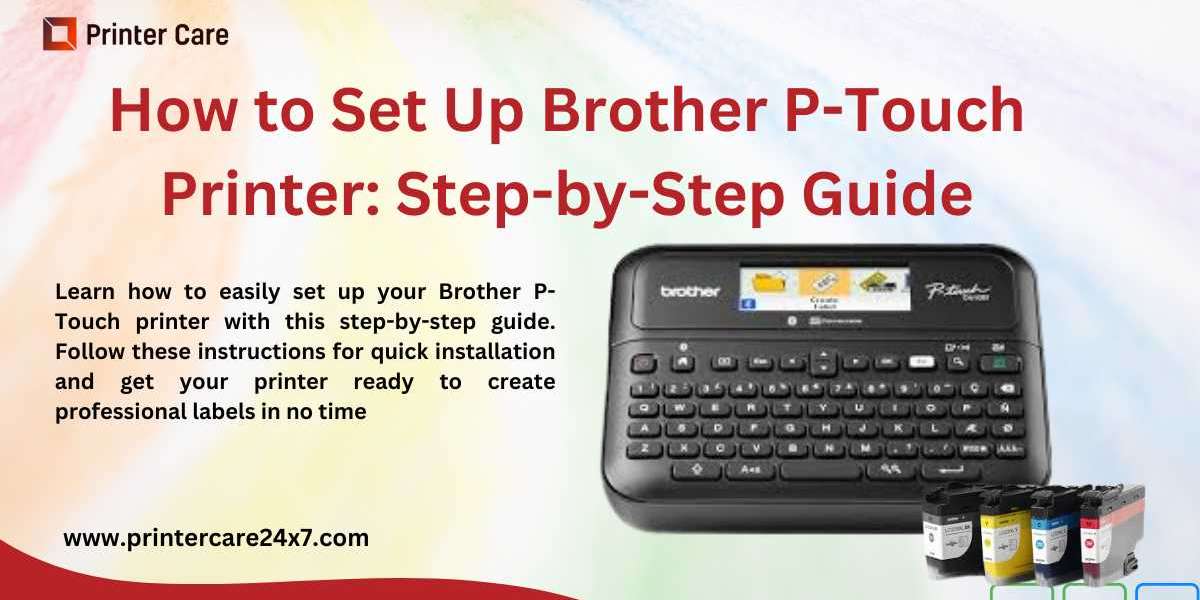
Setting up your Brother P-Touch label printer is easy, whether you are using it for home or office tasks. Follow this comprehensive guide to ensure that your printer is ready for use and operating efficiently.
Chat with live technician- Click Here
Step 1: Unbox and Prepare the Printer
Start by unboxing your Brother P-Touch printer carefully. Remove all protective packaging, including any plastic coverings, and ensure that the printer is free from any shipping materials. Place the printer on a stable, flat surface, close to a power outlet and within reach of your computer or mobile device.
Step 2: Install the Tape Cassette
- Open the printer's tape compartment by lifting the cover.
- Insert the Brother P-Touch tape cassette, ensuring that the tape is fed correctly through the printer's feeding mechanism. The tape should be positioned with the end facing toward the printer head.
- Close the compartment securely.
Step 3: Connect the Printer to Power
Plug the power cord into the Brother P-Touch printer and connect the other end to a wall outlet. Press the power button to turn the printer on. The printer should light up and be ready for use.
Step 4: Install the Printer Software (For PC or Mac Users)
To fully integrate your Brother P-Touch printer with your computer, you'll need to install the necessary software:
- Go to the Brother support website and navigate to the download section for your specific P-Touch model.
- Download and install the latest version of the P-Touch Editor software. This software will allow you to create labels from your computer.
- Follow the installation instructions provided, and restart your computer if prompted.
Step 5: Set Up Wireless Connectivity (For Wireless Models)
If your Brother P-Touch printer supports wireless connectivity:
- On the printer, press the “Menu” button, navigate to “Network,” and select “WLAN.”
- Choose your Wi-Fi network from the list of available networks and enter your Wi-Fi password.
- Once connected, your printer will be ready for wireless printing. Ensure that your computer or mobile device is connected to the same network.
Step 6: Print a Test Label
Now that your printer is set up, it's time to print a test label. Use the P-Touch Editor software on your computer or the built-in keyboard on the printer to design a label. After creating your label, press the “Print” button to confirm the printer's functionality.
Step 7: Troubleshoot If Necessary
If you experience any issues, check the following:
- Ensure that the tape cassette is installed correctly.
- Double-check the wireless connection settings.
- Verify that the printer drivers are correctly installed.
By following these simple steps, your Brother P-Touch label printer will be ready to assist you in creating high-quality, professional labels.
Chat with live technician- Click Here